Address
304 North Cardinal St.
Dorchester Center, MA 02124
Work Hours
Monday to Friday: 7AM - 7PM
Weekend: 10AM - 5PM
Address
304 North Cardinal St.
Dorchester Center, MA 02124
Work Hours
Monday to Friday: 7AM - 7PM
Weekend: 10AM - 5PM
Your essential source on Unity and web development
Your essential source on Unity and web development

In Unity, namespace resolve file-name conflicts and implicitly provide better code organization.
Namespaces are common in many languages and are straightforward to use.
Table of contents
A namespace in C# is like a folder for storing our classes.
On Unity, you’re already using namespaces without knowing it:
You’ve all seen the using UnityEngine; directive at the very top of scripts.UnityEngine is one of them.
Basically, the identifier used to call a class is its name, for example: PlayerController.
Thanks to the namespace, each class inside will have its identifier prefixed with the namespace name, for example: Controls.PlayerController.
This change of identifier keeps the code organised and avoids the chaos of name conflicts.
For simplicity’s sake, I’m talking about classes here, but namespace can contain any code structure such as classes, interfaces, enumerations, delegates and other elements.
To add a namespace in Unity, you must first create a C# file.
Namespaces can encompass all types of members (classes, structures, enumerations, interfaces, etc.).
In most cases, they are declared after your “using” statements and encompassed by the use of braces :
    using UnityEngine;

    namespace App
    {
        public class PlayerController : MonoBehaviour
        {
            // Class implementation
        }
    }
Your namespace is like a hierarchy, and you can also define a sub-level.
It is a common practice in Unity to define a namespace per folder:
    using UnityEngine;

    // This file location is: Scripts/UI
    namespace App.UI
    {
        public class HealthBar : MonoBehaviour
        {
            // Class implementation
        }
    }
If you are familiar with C#, you might know that starting from C# 10, you can define a namespace without curly braces, like this: namespace App;
Unfortunately, at the time of writing (December 2023), Unity only support C# 9.
Now that our namespace encompasses our class, to reference this class, you need to import it.
In C#, import is done with the directive “using“:
    using App;

    public class Manager
    {
        private PlayerController _playerController;
    }
It is also possible to reference directly by prefixing our member with its fully qualified namespace:
    public class Manager
    {
        private App.PlayerController _playerController;
    }
However, if you want to reference a member in the same namespace, the import is unnecessary; a direct call is sufficient.
    using UnityEngine;

    namespace App
    {
        public class WeaponManager : MonoBehaviour
        {
            public void Init(PlayerController playerController)
            {
                // do some stuff
            }
        }
    }
If you are in a child namespace, the import is also unnecessary.
    using UnityEngine;

    namespace App.Collision
    {
        public class Rock : MonoBehaviour
        {
            private void OnTriggerEnter(Collider other)
            {
                if (other.CompareTag("Player"))
                {
                    var player = other.gameObject.GetComponent<PlayerController>();
                }
            }
        }
    }
But to reference a member present in a child namespace, even if you are in or have imported the parent namespace, it will not work without importing the child namespace.
Example that does not work:
    namespace App
    {
        public class Manager
        {
            // try reference App.Collision.Rock
            public Rock rock;
        }
    }

    using App;

    public class GameBootstrap
    {
        // try reference App.Collision.Rock
        public Rock rock;
    }
We correct this with the directive “using“:
    using App.Collision;

    namespace App
    {
        public class Manager
        {
            // try reference App.Collision.Rock
            public Rock rock;
        }
    }

    using App.Collision;

    public class GameBootstrap
    {
        // try reference App.Collision.Rock
        public Rock rock;
    }
The first solution for resolving a name conflict, for example with 2 classes, is to import one of the two namespaces for one and use a full reference with namespace for the second.
For example, in Unity, the UnityEngine namespace has the Random class, and System also has a class with the same name.
    using UnityEngine;

    namespace App
    {
        [System.Serializable]
        public class Manager : MonoBehaviour
        {
            private void Start()
            {
                var value = Random.value;
            }
        }
    }
The second solution, which is for me the best, is to define an alias for our class, allowing us to keep both imports and keep our code readable.
    using UnityEngine;
    using System;
    using Random = UnityEngine.Random;

    namespace App
    {
        [Serializable]
        public class Manager : MonoBehaviour
        {
            private void Start()
            {
                var value = Random.value;
            }
        }
    }
Since Unity 2020.2, you have the option to add a root namespace, and this namespace will be automatically added when creating a file.
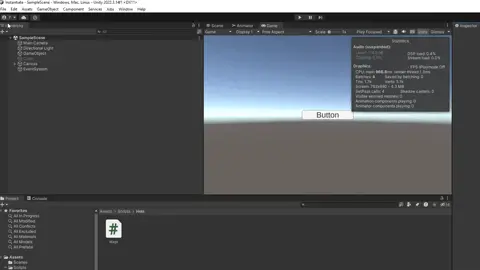
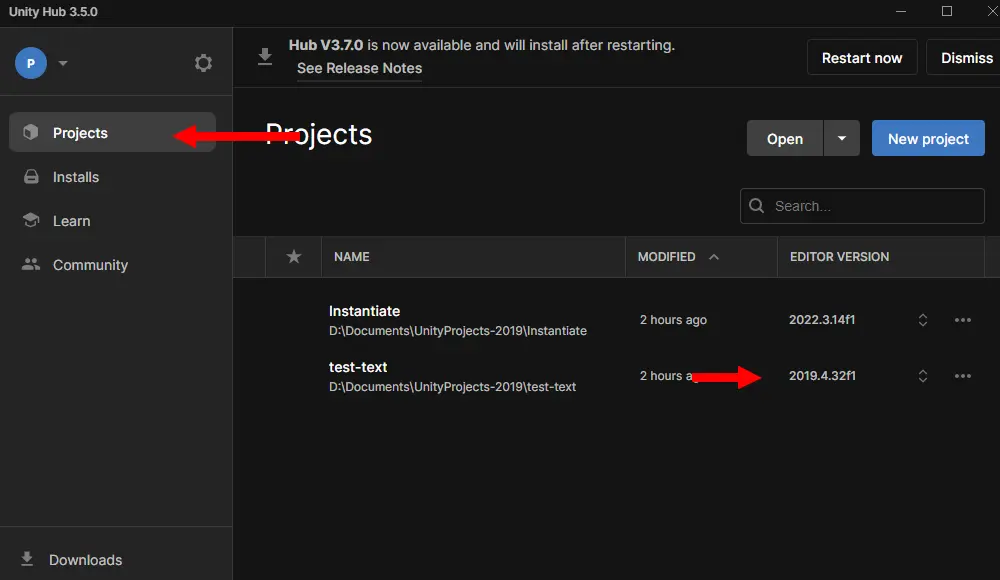
If you are on Unity 2019 or earlier, to add a namespace to your files, you will need to directly modify the script templates.

Note: Before making any modifications, I advise you to make a backup of your file. In case of an error, it may no longer execute.
We can then modify the file to add our namespace like this:
    using System.Collections;
    using System.Collections.Generic;
    using UnityEngine;

    namespace App
    {
        public class #SCRIPTNAME# : MonoBehaviour
        {
            // Start is called before the first frame update
            void Start()
            {
                #NOTRIM#
            }

            // Update is called once per frame
            void Update()
            {
                #NOTRIM#
            }
        }
    }
To have an organization of your namespaces based on the hierarchy of your project, we will have to create our custom variable.
We will use Tomeetis’s method:
Modify our template by going through the steps of the previous section:
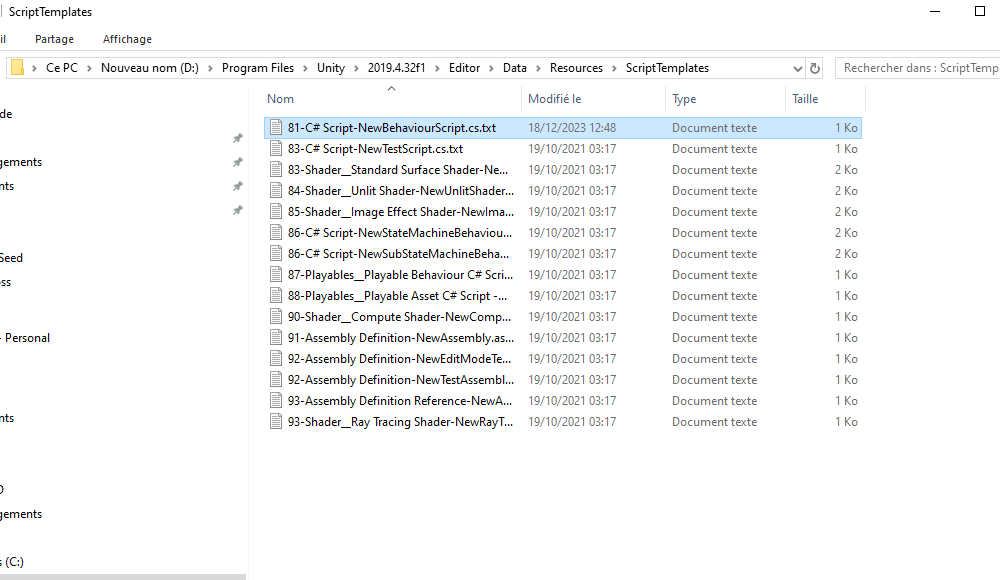
Go to your Unity editor folder, navigate to “Data\Resources\ScriptTemplates“, and then modify the file “81-C# Script-NewBehaviourScript.cs.txt“:
        using System.Collections;
        using System.Collections.Generic;
        using UnityEngine;

        namespace #NAMESPACE#
        {
            public class #SCRIPTNAME# : MonoBehaviour
            {
                // Start is called before the first frame update
                void Start()
                {
                    #NOTRIM#
                }

                // Update is called once per frame
                void Update()
                {
                    #NOTRIM#
                }
            }
        }
Now add the following script; it should be placed in an “Editor” folder.
Define its root namespace as seen earlier “Editor” -> “Project Settings” -> “Editor” -> “Root namespace“.
Now, when you create a MonoBehaviour example: “Scripts/UI/Manager.cs” with the root namespace “App“, it will have “App.UI” as a namespace.
Thanks you for reading.
Background illustration by Stefan Schweihofer
Hand illustration by Gerd Altmann